Autopot
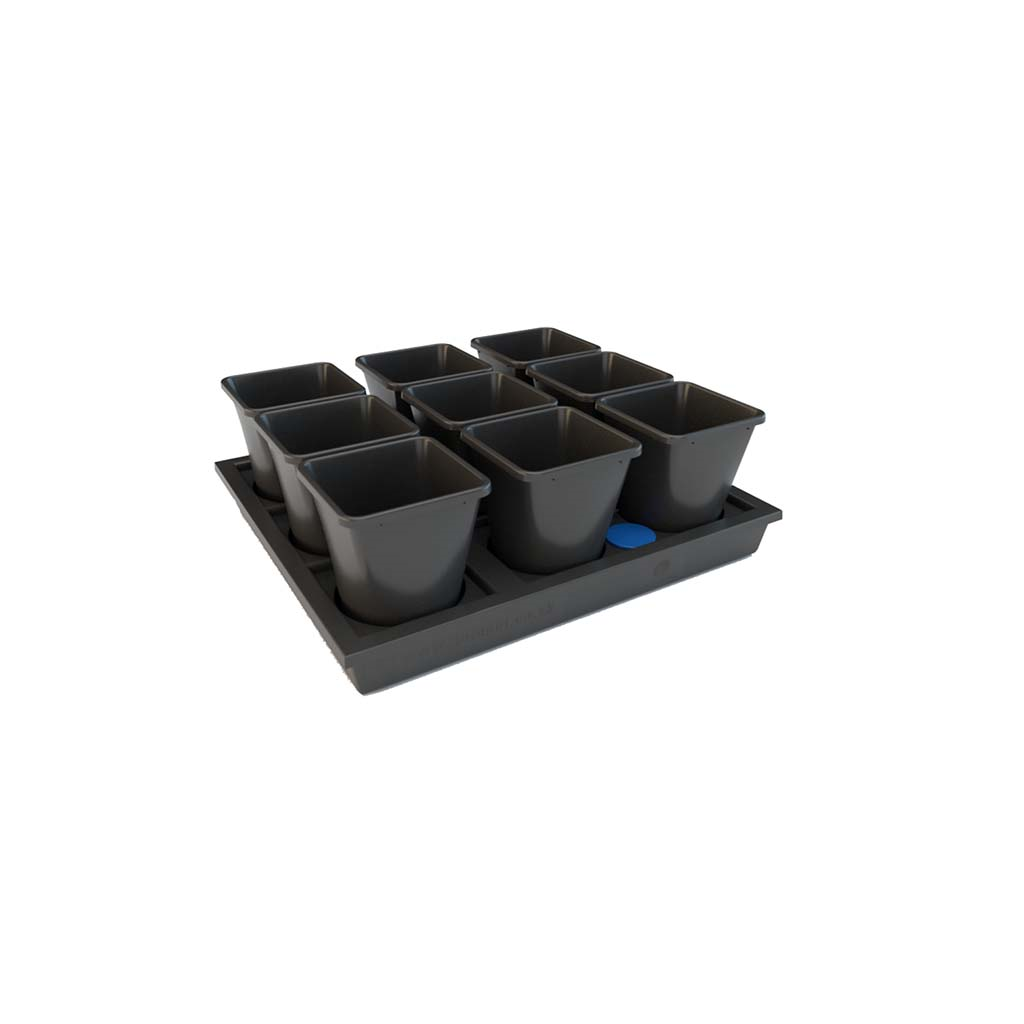
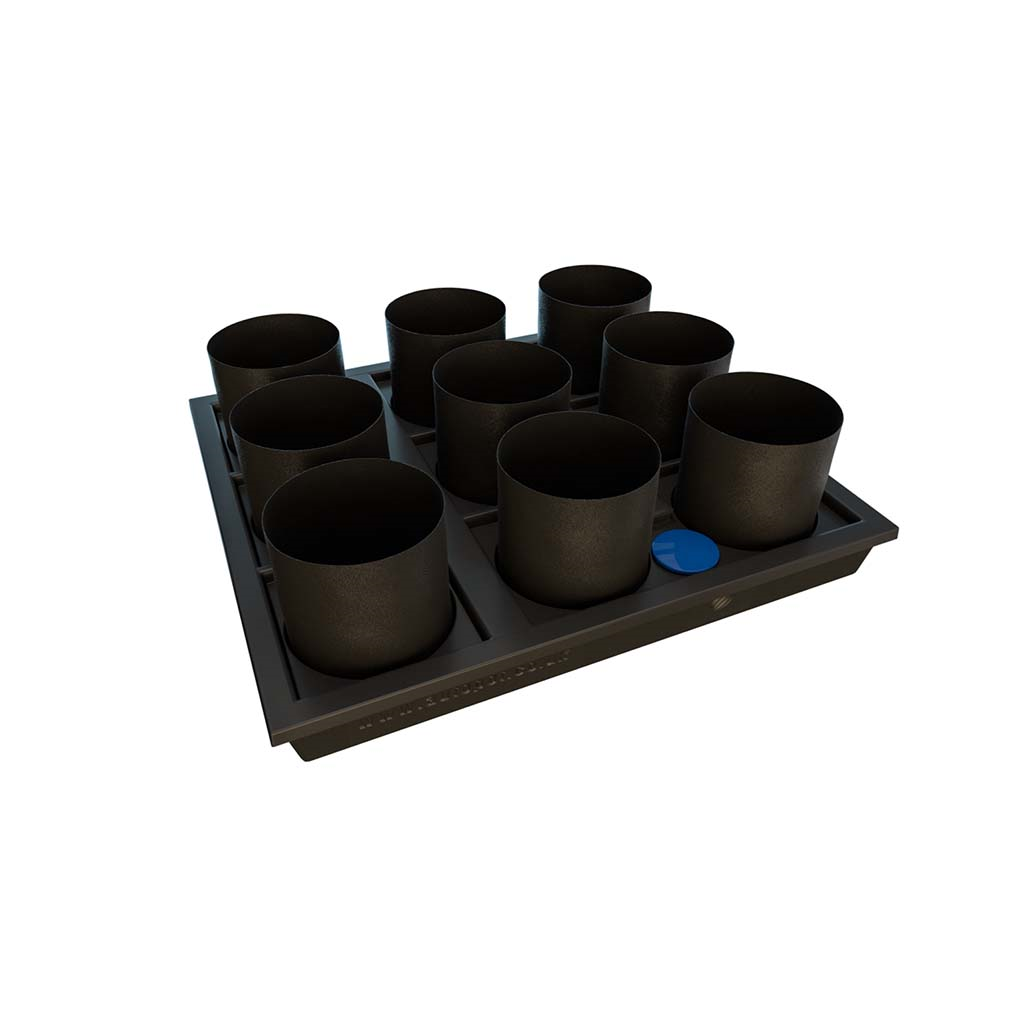
Autopot Module Auto9 XL 25L.
HIDR0136
Auto9 XL offers growers all the advantages of space saving, light optimization and low maintenance irrigation for multiple pots in a single tray and lid assembly. The vertical shelf becomes a viable option thanks to reduced maintenance in a single AQUAvalve.
Contents of Auto 9 XL:
1x Auto 9 XL tray with lid and access cover
1x AQUAvalve valve
1x cover for AQUAvalve
1x 6mm insulating washer
Check that the AQUAvalve floods and drains properly:
1st: Checking if your AQUAvalve floods and drains correctly is simple and only takes a few seconds. Generally, this procedure is only necessary after the AQUAvalve has been disassembled for cleaning and reassembly.
2nd: Hold the AQUAvalve at eye level to check that the silicone piece of the upper float rests on the hole below.
3rd: In contact with it, the silicone must seal it hermetically.
4th: If it does not appear to be parallel to the hole, simply lift the upper float and level it by applying pressure to one side of the piece, lower the float and check again at eye level. Repeat the procedure if necessary.
Care and maintenance:
1st: At the end of your cultivation, clean the AQUAvalve with hot soapy water. You can help yourself with a used toothbrush.
The AQUAvalve is easily disassembled. The upper float slides fully along, and the lower float disengages from its pivoting position. The two circular discs of the upper float can also be removed by grasping their protruding point with pliers or tweezers.
In this process it is recommended to remove the soft silicone pieces to prevent them from getting lost.
2nd: It is also useful to insert a clip into the AQUAvalve nozzle to remove any lime deposit that may have accumulated.
Blowing through the AQUAvalve nozzle will also help remove debris. Do not under any circumstances use drills or bits to clean the AQUAvalve nozzle.
This could damage it irreparably.


