Click on the image to enlarge it
Bluelab EC Calibration Kit
The meter is as accurate as the probe is clean. Accurate readings simplify crop management and provide better growth.
Proper maintenance of the probe in ppm / EC also ensures that you maximize the life of the probe and meter.
The surface of the probe is where the meter takes a reading of the solution. If the face of the probe is dirty, the readings may be inaccurate. Like a car windshield, if it's dirty you can't see it! If the face of the probe is dirty, you cannot read the solution.
A word of advice ... if the conductivity is low, the probe needs cleaning.
Functioning:
Turn on the probe Press the feed button. The last measurement is recalled for 3 seconds. To turn off the probe Press and hold the button until OFF appears. NOTE: The probe will automatically turn off after 4 minutes to save battery.
Measure EC Insert the probe into the solution and wait for the reading to stabilize.
Holding a Reading If you want to "hold" the reading on the display, briefly press the power button. To exit the hold function, press the power button again.
Change units Press and hold the units button for 3 seconds until the conductivity and temperature units start to flash. Briefly press the units button again to cycle through the unit combinations. To exit this mode, do not press any button for 3 seconds. NOTE: Units can be changed in Hold mode by holding down the Units button.
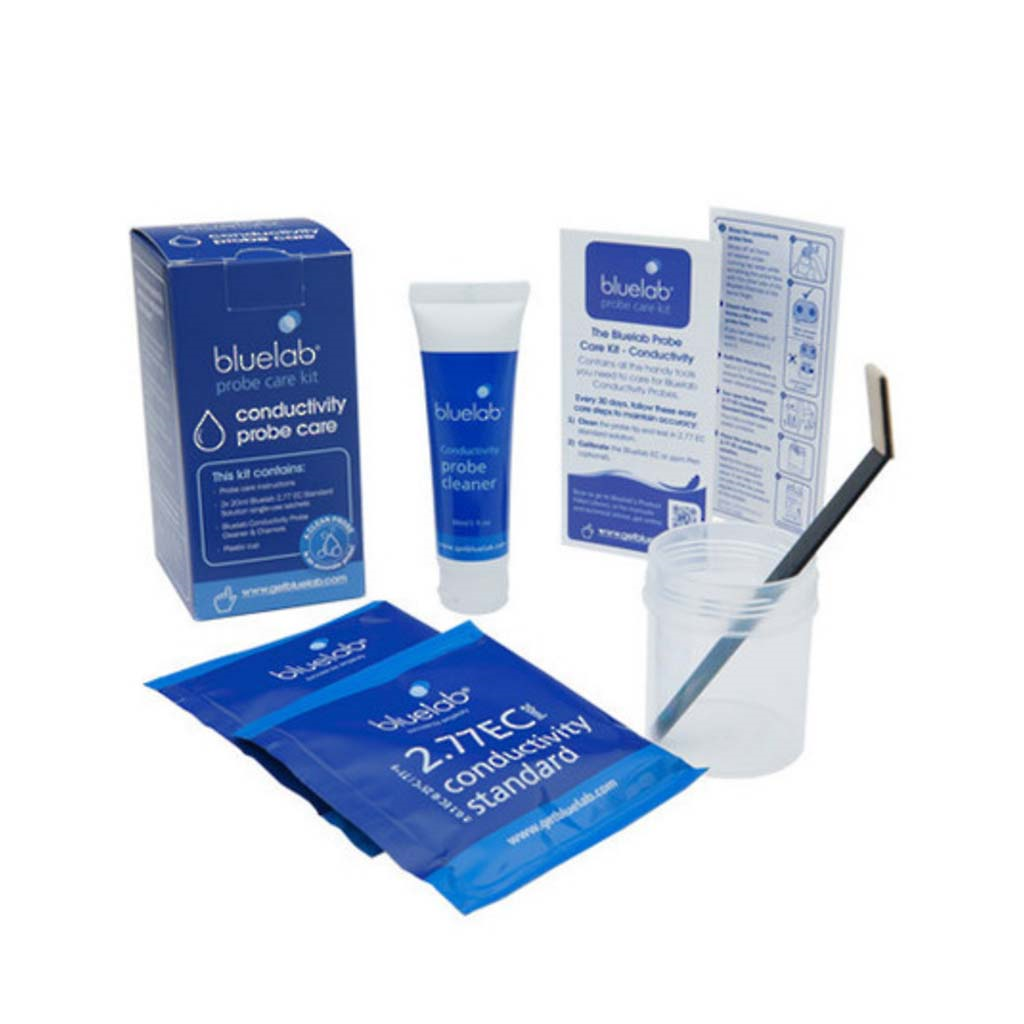
Rinse the conductivity probe To reduce the build-up of nutrient salts, rinse the probe under running water after each use. The probe should be cleaned every two weeks to ensure accurate readings. To clean the probe, follow the cleaning instructions in section 2.0.
Cleaning and maintenance:
Remove the cover
Hold the body and remove the cover. Removal will be easier if you hold the cover by hand for a few seconds
Clean the probe surface
Apply a drop or two of probe cleaner to the probe surface and scrub vigorously with your finger or a Bluelab cloth to clean it. If there is a lot of dirt accumulated around the temperature sensor, clean with a soft toothbrush to remove it.
Rinse the probe
Rinse all traces of cleaner under running water with the same finger or the other side of the Bluelab chamois. Check that the water forms a small film on the surface of the probe, with no "droplets" of water. If there are droplets, repeat the cleaning process.
Replace the cover and test in a known solution to ensure the drive has been cleaned properly.
Battery replacement:
Remove the old battery
Release the latches on the battery cover. Remove the battery cover and discard the old battery
Check for corrosion
Dead batteries can leak and cause corrosion. Check the battery contacts and for signs of corrosion. If there is corrosion, the battery contacts should be cleaned before going to step 3
Install the new battery
Insert the positive (+) end of the new battery into the probe body.
Check that the waterproof battery cover is clean
The watertightness will fail if there is dirt around the seal and the body, at the point where the lid is closed.
Replace the battery cover
Tighten the latches on the battery cover until there is no gap between the cover and the probe body. This ensures that the unit is 100% watertight.
Calibration
YOU MUST CALIBRATE THE PROBE BEFORE PERFORMING THE CALIBRATION. See section 2.0.
Rinse the probe in clean water and put it in a known standard solution. Confirm the solution
correct in the table below. Wait for the reading to stabilize.
Press and hold the cal button for 3 seconds until CAL appears. Release the button; CAL P will be displayed. If Err is displayed, check that the probe is clean and that the calibration solution is freshly prepared and decontaminated.
A check mark will be displayed on the screen to indicate that the calibration was successful. The check mark will disappear after 30 days. To restore the factory settings, remove or replace the battery.